
Follow Me On Social Media!
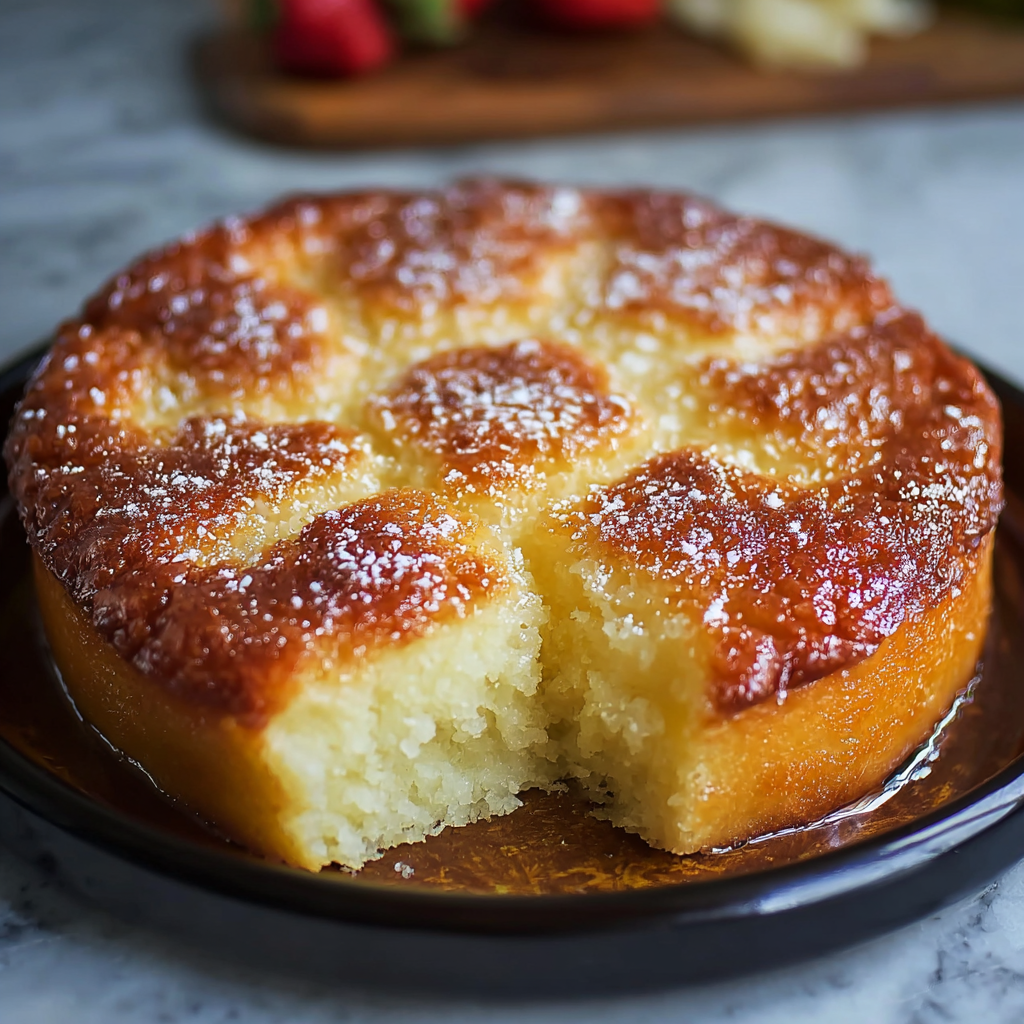
Classic Melt-in-Your-Mouth Butter Cake: The “Reverse Creaming” Masterclass
The Science of the “Melt”
What makes a cake truly “melt-in-your-mouth”? It comes down to Gluten Control. In a traditional cake, you cream butter and sugar, then add flour at the end. This often leads to over-mixing, which develops a strong gluten network (like bread), resulting in a “bouncy” or “rubbery” texture.
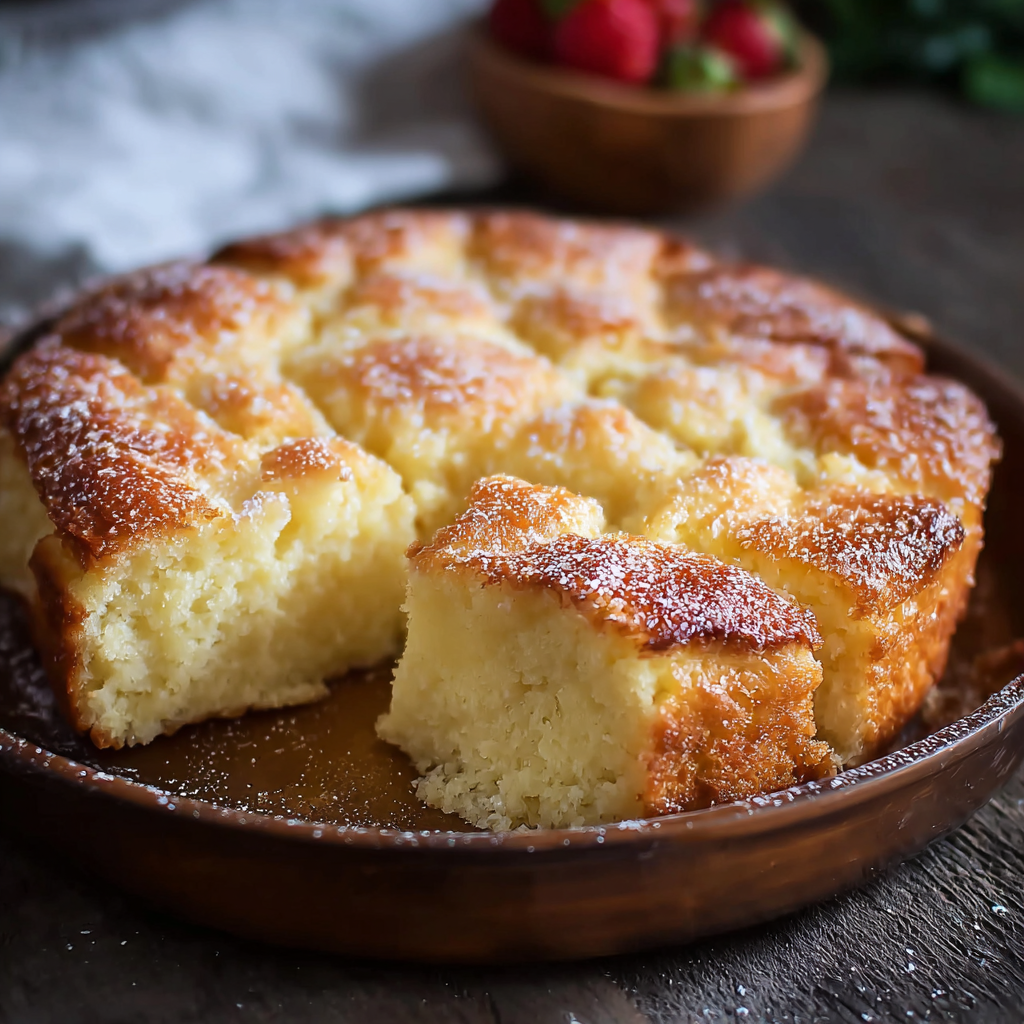
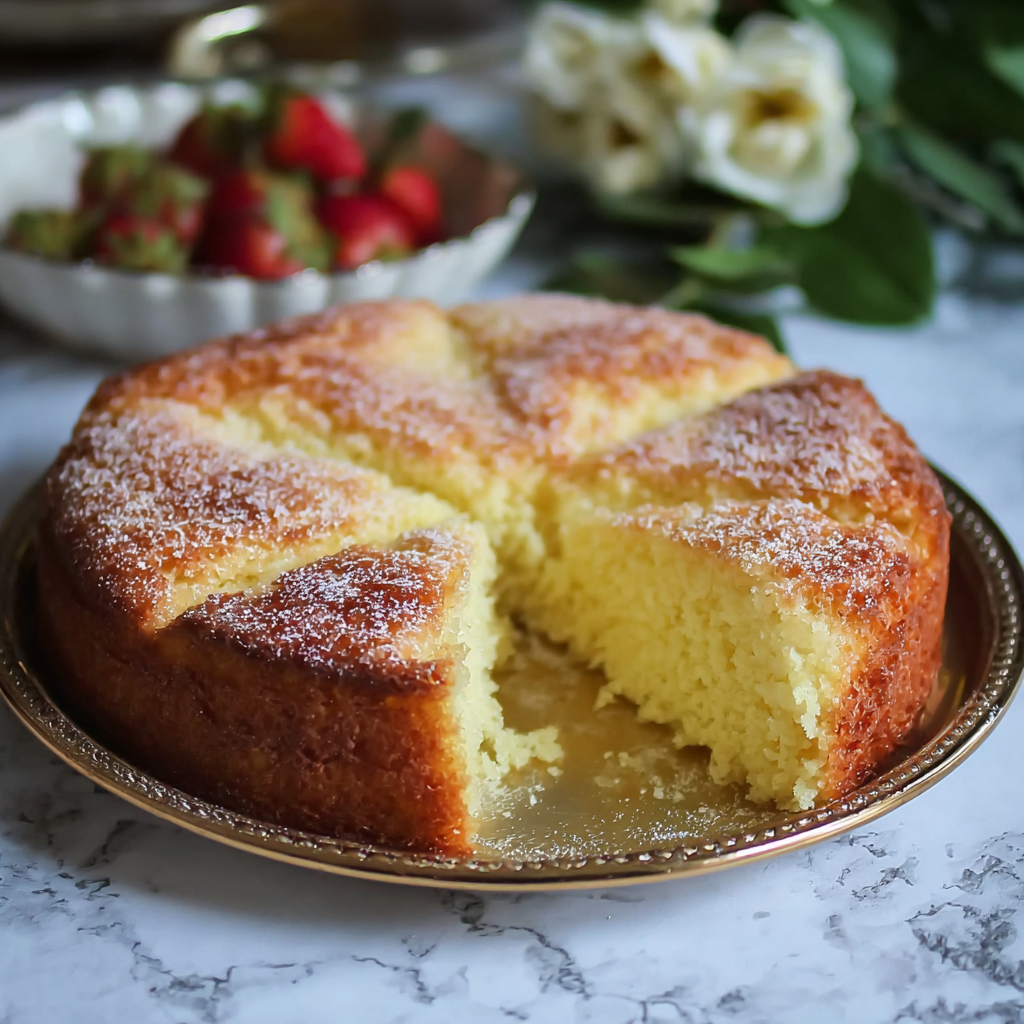
To achieve the “melt” effect, we use the Reverse Creaming Method (popularized by Rose Levy Beranbaum).1 By mixing the butter directly into the flour first, we coat the flour proteins in fat.2 This creates a waterproof barrier that prevents gluten from forming when we add the liquids.3 The result is a velvety, fine-crumbed cake that dissolves on the tongue.4
The Essential Ingredients List
For this specific texture, Cake Flour is highly recommended over all-purpose flour because its lower protein content (5$7-8\%$ vs 6$10-12\%$) further inhibits toughness.7
- 2.5 cups (approx. 300g) Cake Flour: Sifted to ensure zero clumps.8
- 1.5 cups (300g) Granulated Sugar: Fine caster sugar is even better for aeration.
- 1 cup (227g) Unsalted Butter:9 Softened to precisely 18°C–20°C. It should be pliable but not shiny or oily.
- The Liquid Emulsion:
- 4 Large Eggs: Room temperature.10
- 1 cup Full-Fat Buttermilk: The acidity tenderizes the crumb further.
- 2 tsp Vanilla Bean Paste: For high-intensity aromatics.
- The Leavening Agents:
- 2 tsp Baking Powder & 1/2 tsp Salt.
Timing: The Precision Bake
Butter cakes are dense; they require a “low and slow” environment to rise evenly without a “volcano” dome in the center.
| Task | Duration | Context |
| Reverse Creaming | 5 Minutes | Coating the flour in butterfat. |
| Baking | 35–45 Minutes | At 165°C (325°F) for even heat distribution. |
| Resting | 10 Minutes | Critical for structural setting before removal. |
| Total Time | ~1 Hour | Yields 1 highly indulgent 9-inch cake. |
Step-by-Step Instructions
1. The “Sandy” Base (Reverse Creaming)
Place the cake flour, sugar, baking powder, and salt into a stand mixer bowl.11 Add the softened butter. Mix on low speed until the mixture looks like damp sand with no large butter chunks visible. Insight: Every grain of flour is now “armored” with fat, preventing gluten development.12
2. The First Liquid Bind
Add half of the buttermilk and vanilla. Beat on medium speed for 90 seconds. This is the only time you “beat” the batter; it builds the tiny bit of structure the cake needs to hold its own weight.
3. The Gradual Emulsion
In a separate jug, whisk the eggs into the remaining buttermilk. With the mixer on low, add this mixture in three stages, mixing just until combined. Pro Tip: Over-mixing here will introduce too much air, which can cause the cake to sink as it cools.13
4. The Low-Heat Pour
Pour into a greased and parchment-lined 9-inch round or square pan. Smooth the top with a spatula.
5. The Perfection Bake
Bake at 165°C (325°F) for 35–45 minutes. The cake is done when a skewer comes out with a few moist crumbs—not completely dry. Actionable Tip: Butter cakes continue to “cook” for several minutes after leaving the oven. Pulling it out slightly “early” ensures it remains moist.
Nutritional Information (Per Slice)
| Nutrient | Amount | Daily Value (%) |
| Calories | 380 kcal | 19% |
| Total Fat | 22g | 28% |
| Carbohydrates | 42g | 15% |
| Protein | 5g | 10% |
Common Mistakes to Avoid
- Using Cold Eggs: Cold eggs will cause the butter in your “sandy” mixture to seize and clump, ruining the velvet emulsion.
- Using Melted Butter: If the butter is melted, it won’t hold the air pockets required for lift. The cake will turn out oily and heavy.
- Skipping the Sifting: Cake flour is prone to clumping. If you don’t sift, you’ll find tiny white “flour pockets” inside your baked cake.
Conclusion
Classic Melt-in-Your-Mouth Butter Cake is a masterclass in the chemistry of fats. By using the reverse creaming method, you essentially “hack” the flour to produce a texture that is impossibly soft, yet stable enough for frosting.