Follow Me On Social Media!
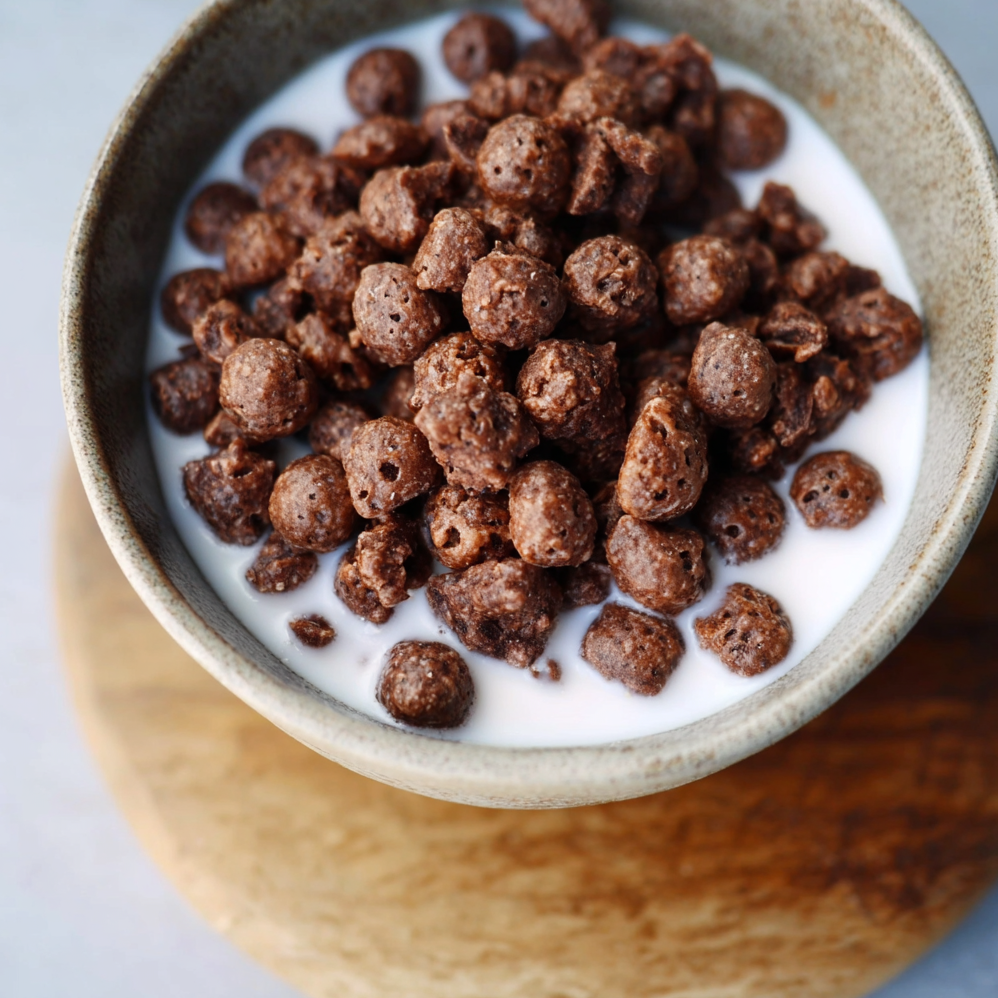
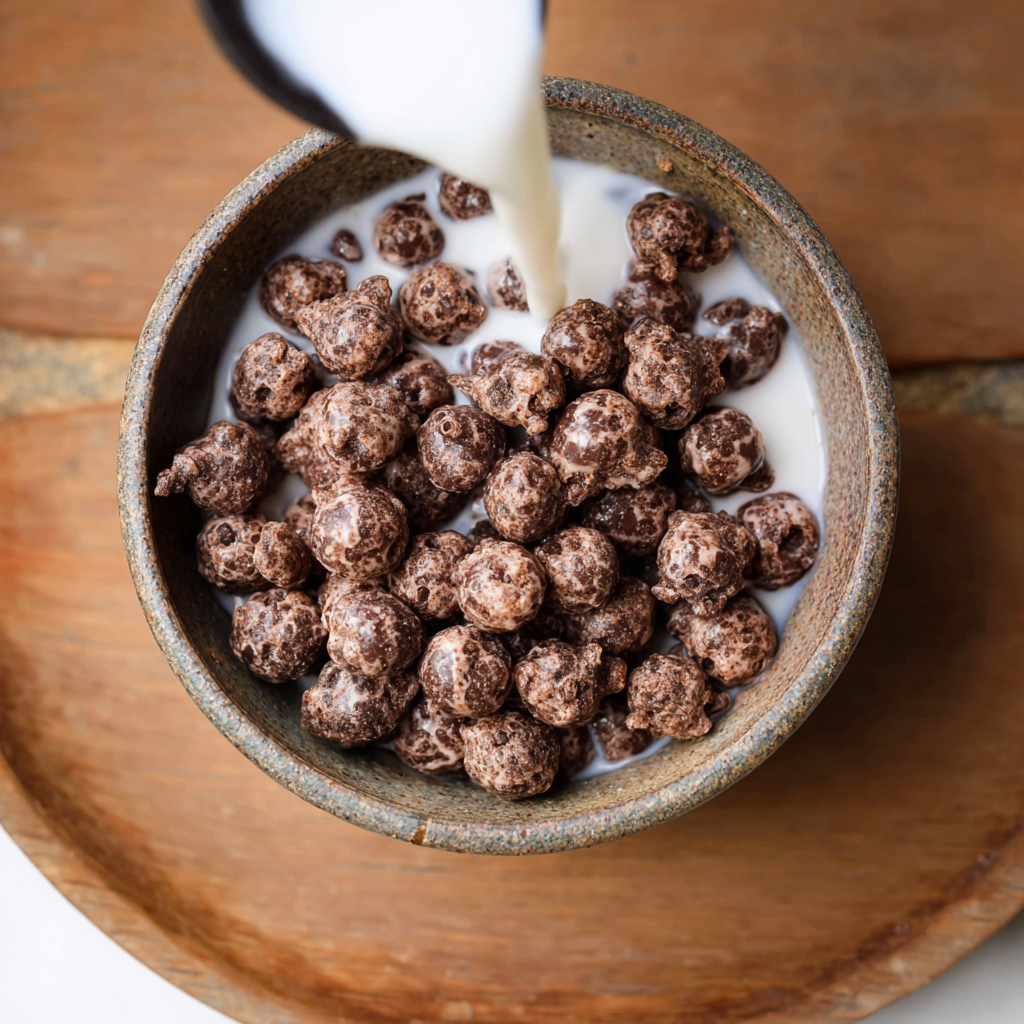
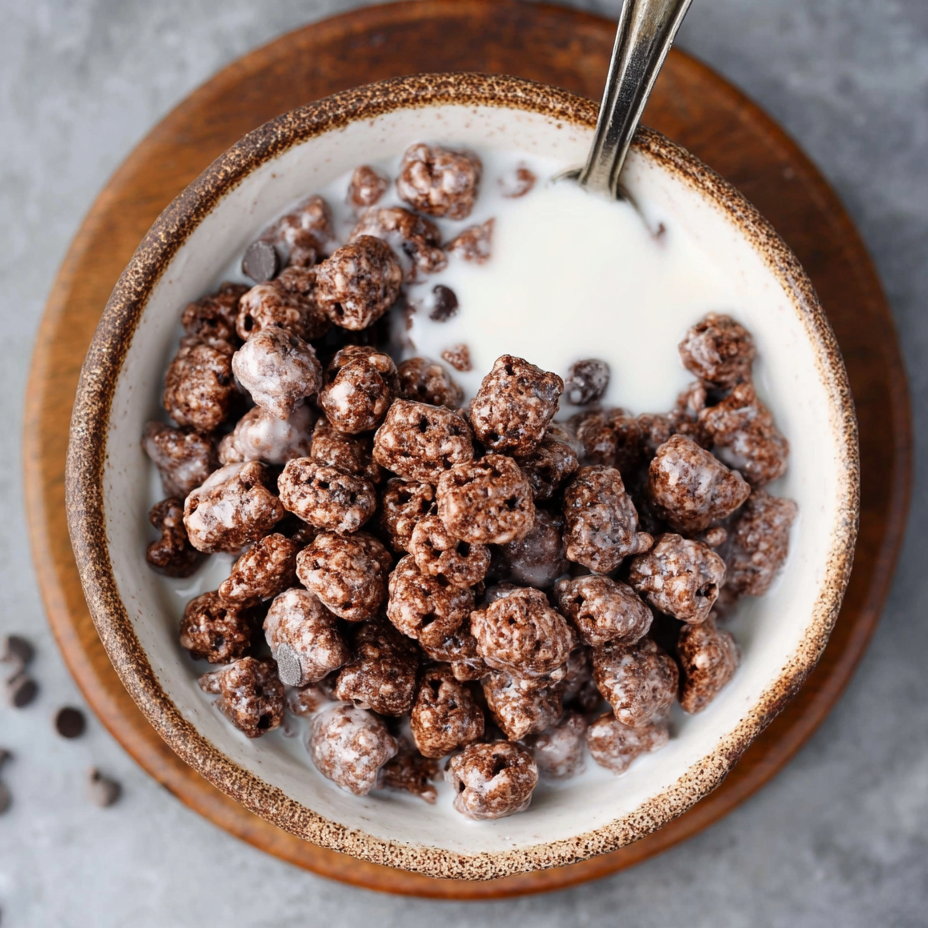
Healthy Homemade Chocolate Puff Cereal: The “Crunch & Cocoa” Matrix
The Science of the “Healthy Puff”
Traditional chocolate puff cereals are made using extrusion cooking, a high-pressure industrial process that creates an airy, starchy bubble. To replicate this at home without chemicals or refined sugars, we use Almond Flour and Egg Whites.
The egg whites act as a protein-based leavening agent. When heated, the air trapped in the egg proteins expands, while the healthy fats in the almond flour create a “short” crumb that shatters when you bite it. By using Dark Cocoa and a natural sweetener like Maple Syrup, we achieve a deep chocolate flavor with a lower glycemic index, ensuring you avoid the mid-morning “sugar crash.”
The Essential Ingredients List
This recipe focuses on a “Grain-Free” profile that stays crunchy even in milk.
- 1 cup Super-Fine Almond Flour: The structural base.
- 1/4 cup Unsweetened Cocoa Powder: For the “Chocolatey” milk effect.
- 2 tbsp Tapioca Starch (or Arrowroot): Actionable Tip: This is the “secret” to the crunch; it provides the light, starchy snap that almond flour lacks on its own.
- The Sweetener & Binder:
- 3 tbsp Maple Syrup or Honey.
- 1 Large Egg White: Whisked until frothy.
- 1 tsp Vanilla Extract.
- The “Flavor Pop”:
- 1/4 tsp Sea Salt.
- 1/2 tsp Cinnamon: Enhances the perception of sweetness without adding sugar.
Timing: The “Micro-Rolling” Phase
| Task | Duration | Context |
| Mixing | 5 Minutes | Creating the “dough” ball. |
| Rolling | 15 Minutes | The “Zen” task of making tiny puffs. |
| Baking | 12–15 Minutes | At 160°C (325°F). |
| Total Time | ~35 Minutes | Yields about 4 servings. |
Step-by-Step Instructions
1. The Dry Integration
Whisk the almond flour, cocoa powder, tapioca starch, salt, and cinnamon in a bowl. Ensure there are no cocoa lumps—sifting is recommended if your cocoa is clumpy.
2. The Frothy Bind
In a separate small bowl, whisk the egg white until it’s frothy and bubbles form. Stir in the maple syrup and vanilla. Pour the wet ingredients into the dry and mix until a stiff, dark dough forms.
3. The “Cereal” Shaping
This is the most time-consuming part. Pinch off tiny pieces of dough (about the size of a pea) and roll them into small balls. Pro Tip: Keep your hands slightly damp to prevent sticking. If you’re in a hurry, roll the dough into “snakes” and cut them into tiny bits with a knife.
4. The Low-Heat Bake
Line a baking sheet with parchment paper. Spread the puffs out in a single layer. Bake at 160°C (325°F) for 12–15 minutes. Insight: We use a lower temperature to prevent the cocoa from burning, which can happen quickly and lead to a bitter taste.
5. The Dehydration Rest
Turn off the oven, crack the door, and let the cereal sit inside for another 10 minutes. This extra step “dehydrates” the center of the puffs, ensuring they don’t turn soggy the moment they hit the milk.
Nutritional Information (Per 1/2 cup Serving)
| Nutrient | Amount | Daily Value (%) |
| Calories | 195 kcal | 10% |
| Protein | 6g | 12% |
| Healthy Fats | 14g | 18% |
| Net Carbs | 9g | 3% |
Common Mistakes to Avoid
- Making the Puffs Too Large: If they are larger than a blueberry, the centers will stay chewy rather than crunchy. Keep them small for that authentic cereal “snap.”
- Skipping the Salt: Cocoa is naturally bitter. A pinch of sea salt neutralizes that bitterness and makes the chocolate flavor “sing.”
- Storing While Warm: If you put these in a jar while they still have residual heat, the steam will soften them. Let them cool completely (about 30 minutes) before sealing.
Conclusion
Healthy Homemade Chocolate Puff Cereal is a nostalgic treat reimagined for a wellness-focused lifestyle. It turns your cereal bowl into a high-protein, antioxidant-rich meal that tastes like a dessert but fuels you like a breakfast.