Follow Me On Social Media!
Homemade Classic Chocolate Kit Kat Bars: The “Lamination” Hack
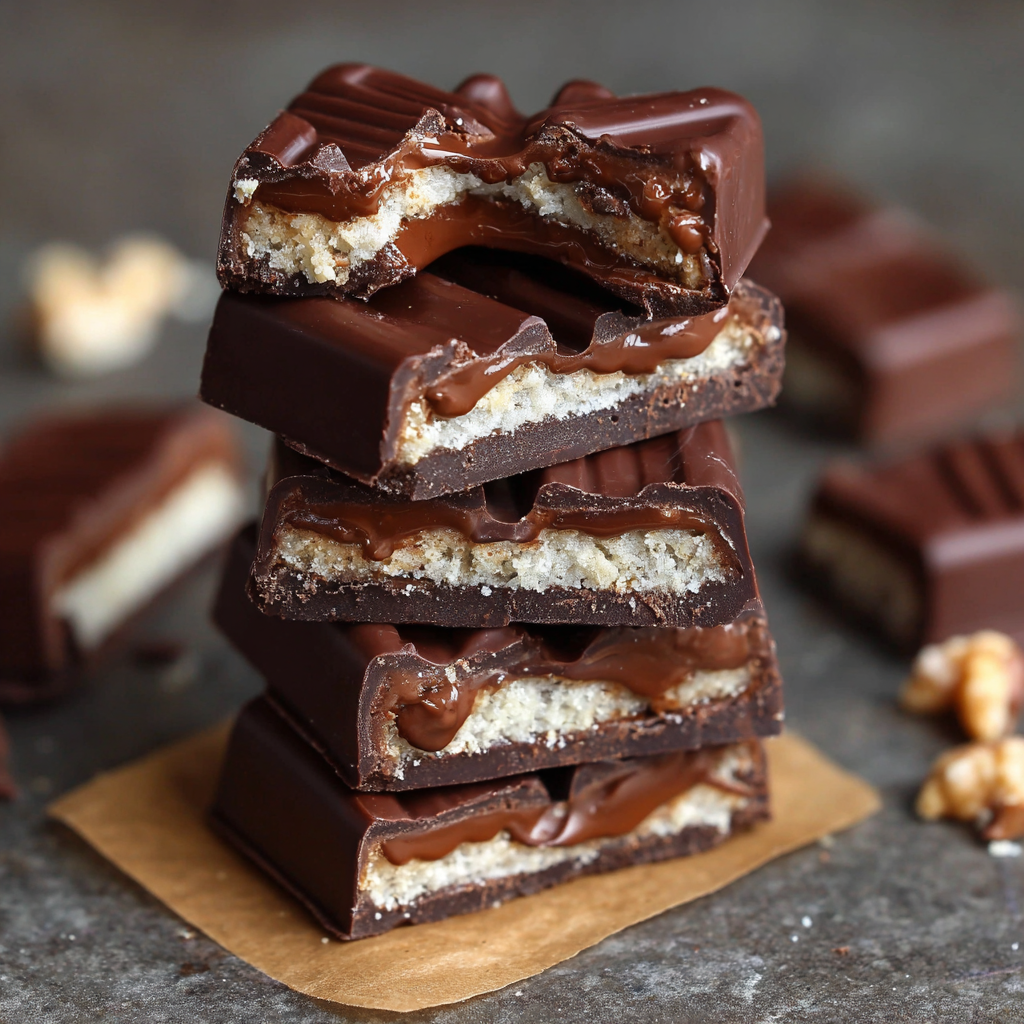
The Science of the “Snap”
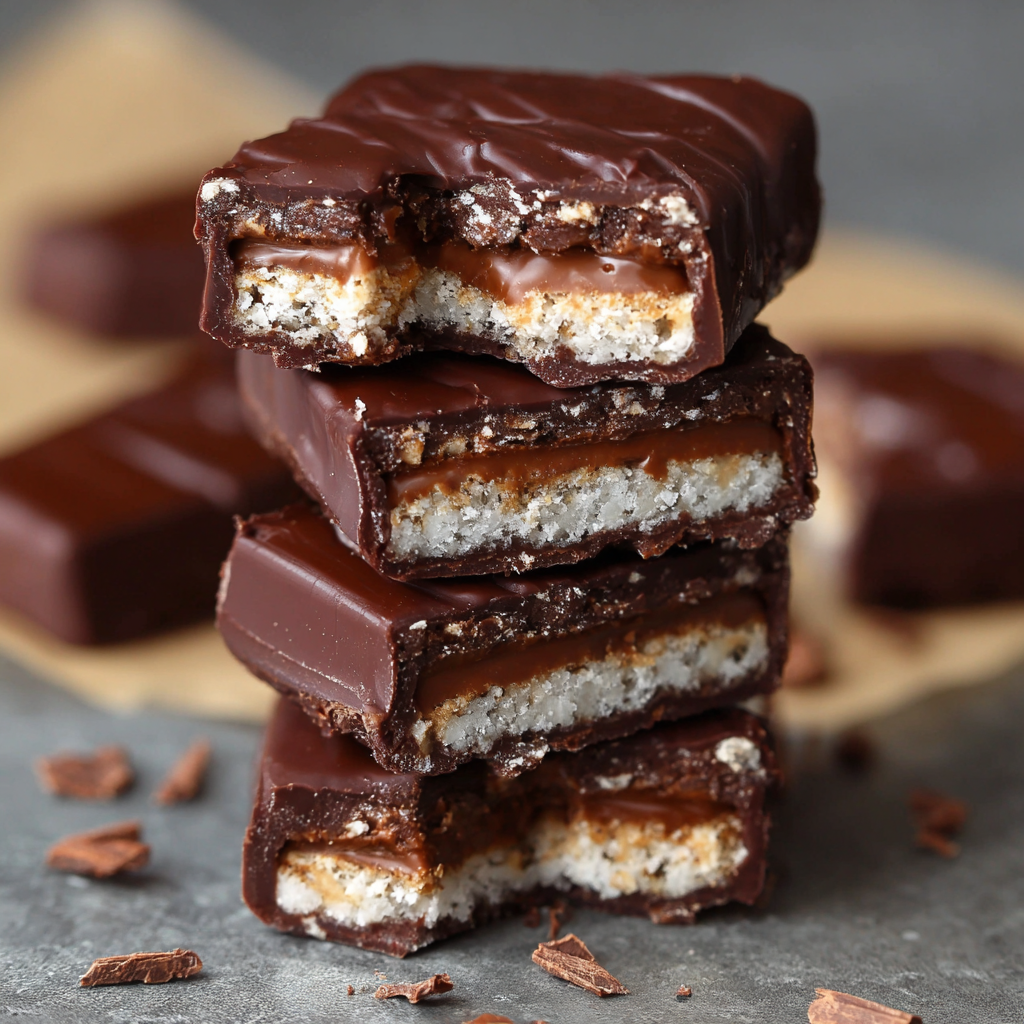
The defining characteristic of a Kit Kat is the acoustic snap—the sound of tempered chocolate breaking simultaneously with multiple layers of aerated wafer.
In a factory, the “filling” between the wafers is actually re-ground, “reworked” Kit Kats. For the homemade version, we use a Pruné-style filling (a mix of cocoa and fats) to bond the wafers. To achieve that signature snap without professional factory machinery, we rely on Chocolate Tempering. By melting and cooling chocolate to specific temperatures, we align the cocoa butter crystals into a “Beta” structure, which creates a glossy finish and a clean break at room temperature.
The Essential Ingredients List
Makes approximately 12-14 bars.
- The “Crunch” Core:
- 1 pack of Vanilla Wafer Sheets: (Look for the thin, rectangular “ice cream” wafers).
- The “Glue” Filling:
- 1/2 cup Milk Chocolate: Melted.
- 2 tbsp Hazelnut Spread or Smooth Peanut Butter: (Helps the filling stay “fudgy” rather than brittle).
- The Chocolate Coating:
- 12 oz (340g) High-Quality Milk Chocolate: (Couverture chocolate with at least 30% cocoa butter is best for tempering).
- 1 tsp Coconut Oil: (Optional; provides a “softer” snap if you aren’t tempering).
Timing: The “Setting” Window
| Task | Duration | Context |
| Assembly | 10 Minutes | Layering the wafers and filling. |
| Firming | 30 Minutes | Chilling the “block” before slicing. |
| Dipping | 15 Minutes | Coating the bars. |
| Total Time | ~1 Hour | Requires patience for the “set.” |
Step-by-Step Instructions
1. The Wafer Construction
Mix your 1/2 cup of melted chocolate with the hazelnut spread. Lay one wafer sheet down and spread a very thin, even layer of the chocolate mixture over it. Actionable Tip: Use an offset spatula to keep the layer as thin as possible; if it’s too thick, the bar will be too sweet and lose its “crunch” ratio.
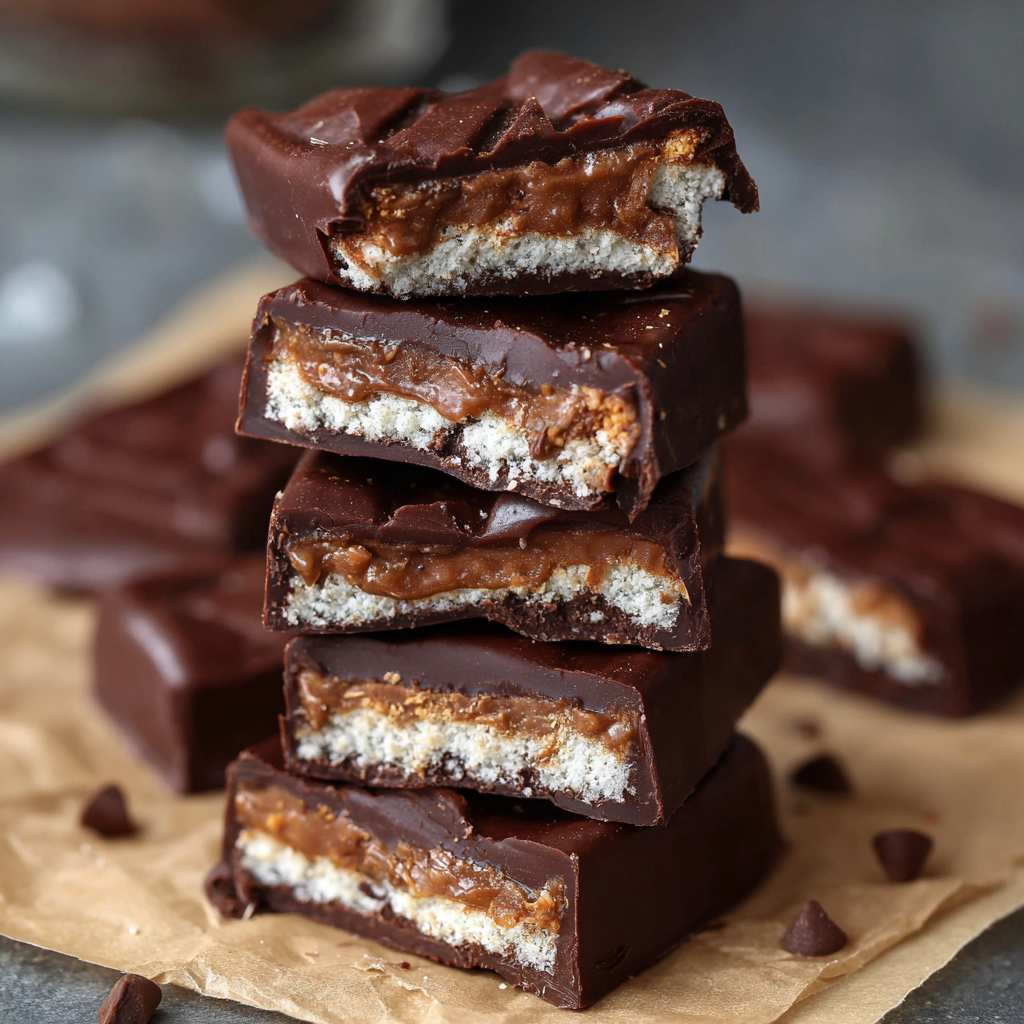
2. The Lamination
Repeat the process until you have 4 or 5 layers of wafers. Press down firmly with a flat plate to ensure all layers are bonded. Place the entire “wafer block” in the freezer for 20 minutes to firm up.
3. The Precision Cut
Using a sharp serrated knife, saw through the wafer block to create long, thin rectangles (the classic “finger” shape). Insight: Slicing while cold prevents the wafers from shattering or sliding apart.
4. The Tempering (The Secret to the Snap)
- Melt 2/3 of your coating chocolate in a bowl over simmering water until it reaches 45°C.
- Remove from heat and stir in the remaining 1/3 of cold chocolate “seeds.”
- Stir until the temperature drops to 30°C-31°C. This “seeds” the melted chocolate with stable crystals.
5. The Enrobing
Using a fork, dip each wafer bar into the tempered chocolate. Lift it out and tap the fork against the side of the bowl to let the excess chocolate drip off. Place on parchment paper to set at room temperature.
Nutritional Information (Per Bar)
| Nutrient | Amount | Daily Value (%) |
| Calories | 180 kcal | 9% |
| Total Fat | 10g | 13% |
| Sugars | 16g | 18% |
| Protein | 2g | 4% |
Common Mistakes to Avoid
- Using Thick Wafers: If you use the thick, cream-filled “snack” wafers from the cookie aisle, the bars will be too bulky. Seek out the plain, paper-thin wafers usually found near ice cream toppings.
- Seizing the Chocolate: Ensure not a single drop of water enters your melting chocolate, or it will turn into a gritty, unworkable paste.
- Storing in the Fridge: If you tempered your chocolate correctly, keep them at room temperature. Putting them in the fridge can cause “sugar bloom” (white streaks) due to condensation.
Conclusion
Homemade Kit Kat Bars are a fun, nostalgic project that yields a result surprisingly close to the original—especially if you use high-quality chocolate. They are the perfect “break” for any afternoon.